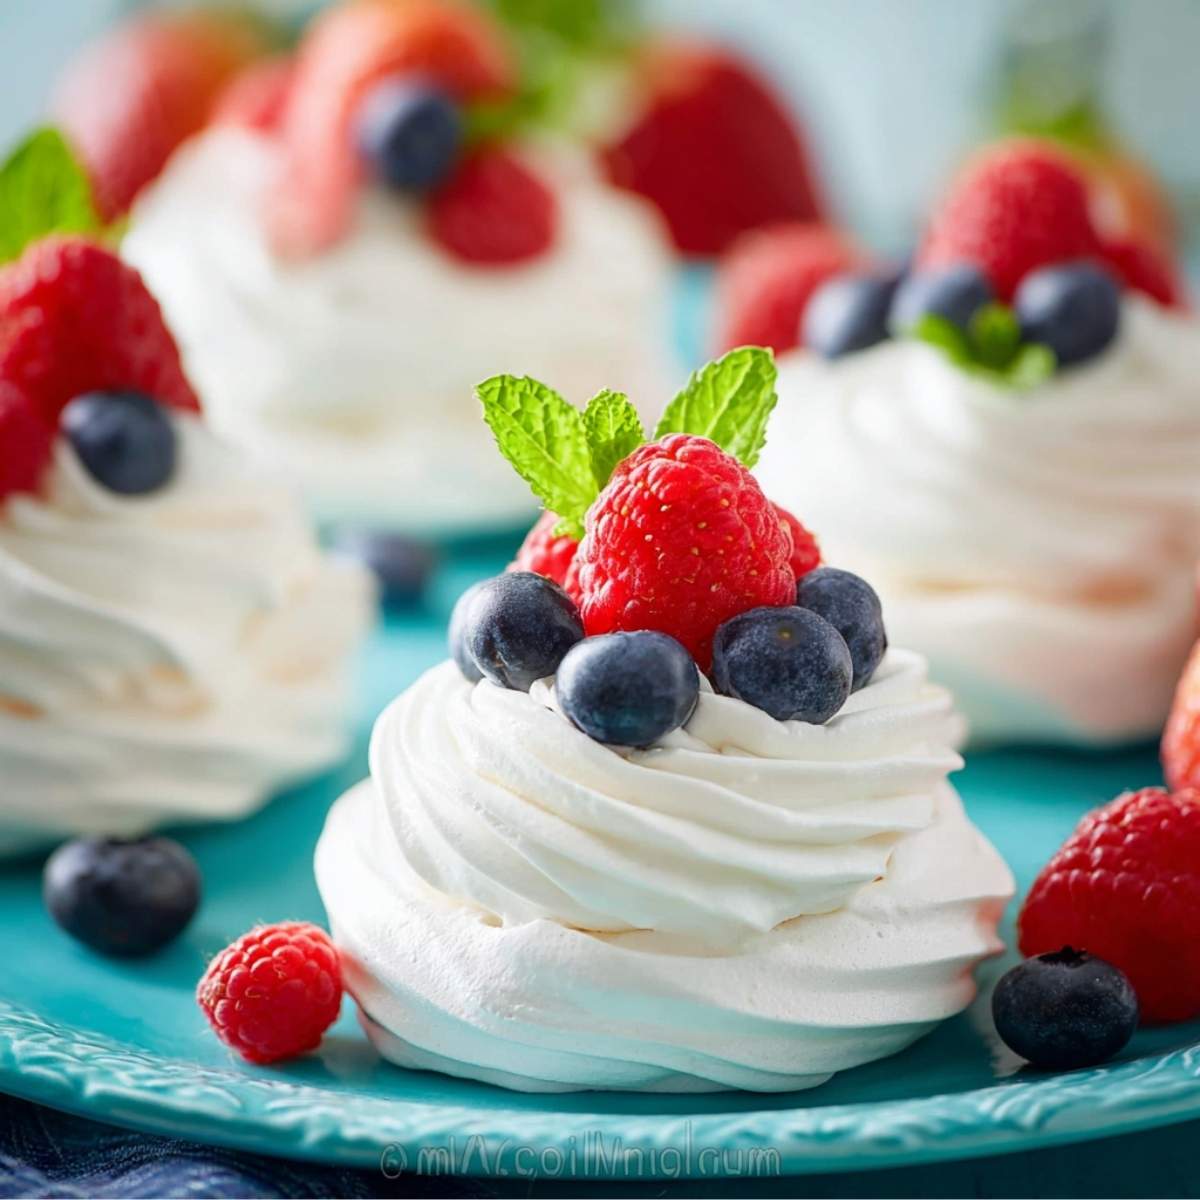
Mini pavlova is one of those desserts that looks like it came from a fancy bakery but is honestly so much easier to make at home than you'd think. Each little nest has a perfectly crisp meringue shell on the outside and the most pillowy, marshmallow-soft center you've ever tasted. Top them with clouds of whipped cream and fresh berries, and you've got something truly stunning on your table. I promise, once you make these, you'll want them on repeat.
These mini pavlovas are perfect for spring and summer gatherings, but honestly? We make them for Easter, Mother's Day, and even just a random Tuesday when Olivia and I want something pretty to bake together. They're a total showstopper at parties, and the best part is you can prep them ahead of time, which makes them my go-to stress-free dessert for any occasion.
Jump to:
- Why You'll Love This Mini Pavlova Recipe
- Ingredients for Mini Pavlova
- How to Make Mini Pavlova
- My Top Tips for Mini Pavlova
- Little Moments in the Kitchen
- Substitutions for Mini Pavlova
- Variations on Mini Pavlova
- Equipment for Mini Pavlova
- Storage Tips for Mini Pavlova
- Olivia's Tip for Mini Pavlova
- FAQ About Mini Pavlova
- Related
- Pairing
- 📖 Recipe
Why You'll Love This Mini Pavlova Recipe
- Make-ahead friendly: The meringue nests can be baked the night before, which means less stress on the day of your gathering and more time enjoying your people.
- Naturally gluten-free: No flour anywhere in sight! This is a dessert everyone at the table can enjoy without any swaps needed.
- Endlessly beautiful: Crisp white nests piled high with whipped cream and colorful fresh berries? They look absolutely gorgeous and take zero cake-decorating skills to pull off.
Ingredients for Mini Pavlova
You only need a handful of simple pantry ingredients to make these, and that's honestly one of my favorite things about this recipe. Nothing fancy, nothing hard to find, and the results are just incredible.
What You'll Need

- Egg whites (room temperature)
- White granulated sugar
- Cornstarch (also called cornflour)
- White vinegar (or fresh lemon juice)
- Pure vanilla extract
- Cream of tartar
- Heavy whipping cream
- Powdered sugar (for the whipped cream)
- Fresh mixed berries (strawberries, blueberries, raspberries)
Why These Ingredients Matter
- Cornstarch: This is the secret to that iconic marshmallow-soft center. It stabilizes the meringue from the inside and keeps the middle chewy and tender instead of hollow and dry.
- White vinegar or lemon juice: The acid helps the egg whites whip up to stiff, glossy peaks and holds the structure through baking. Don't skip it! It also adds a very subtle brightness that balances the sweetness perfectly.
- Cream of tartar: This tiny addition gives your mini pavlova nests serious stability. It prevents the egg whites from collapsing and helps them hold their shape in the oven, especially important when you're making individual portions.
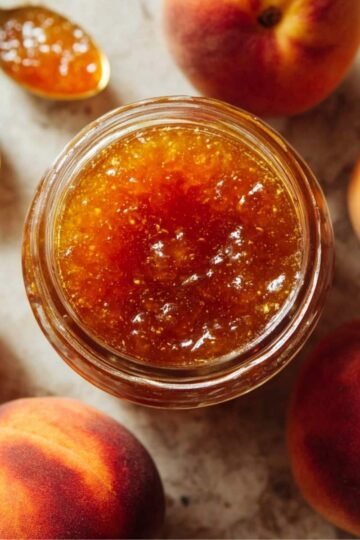
If you love fresh fruit desserts, you might also enjoy this homemade peach jam spooned right on top!
How to Make Mini Pavlova
Step-by-Step Directions
- Preheat your oven to 225°F (107°C) and line two large baking sheets with parchment paper. Using a 3-inch round cookie cutter or glass, trace circles lightly on the parchment as your guide, then flip the paper over so the pencil side faces down.
- Separate your egg whites into a large, completely clean and dry mixing bowl. Even a tiny drop of yolk will prevent your whites from whipping properly, so take your time here.
- Beat the egg whites on medium speed until they become foamy and opaque, about 1 to 2 minutes. Add the cream of tartar and continue beating until soft peaks form, meaning the peaks curl over gently when you lift the beater.
- Gradually add the sugar, one tablespoon at a time, while the mixer runs on medium-high. This is important, don't rush it! Adding too much sugar at once will deflate the whites. Keep going until the meringue is thick, glossy, and stiff peaks stand straight up, about 8 to 10 minutes total.
- Rub a small bit of meringue between your fingers. If you still feel sugar granules, keep beating. The meringue should feel perfectly smooth, which means the sugar has fully dissolved.
- Gently fold in the cornstarch, white vinegar, and vanilla extract using a large rubber spatula. Use slow, careful folding strokes and stop as soon as everything is just combined. Overmixing here will deflate your beautiful meringue.
- Spoon or pipe the meringue onto your traced circles. I like using a large piping bag with a star tip for pretty nests, but a simple spoon works great too. Build up the edges slightly higher than the center to create that classic nest shape for the toppings to sit in.
- Bake for 30 minutes at 225°F, then turn the oven off completely. Leave the mini pavlovas inside the oven, door closed, for 1.5 to 2 hours. This slow cooling is what gives them that gorgeous crisp shell without cracking.
- Once completely cool, whip the heavy cream with powdered sugar until soft, billowy peaks form. Spoon a generous cloud of cream into each nest and pile on the fresh berries.
Pro-Tip: Make absolutely sure your mixing bowl and beaters are spotlessly clean and completely grease-free before you start. Even a tiny trace of fat will prevent the egg whites from reaching stiff peaks. I wipe mine down with a little white vinegar on a paper towel before every batch. Works like a charm every single time!
My Top Tips for Mini Pavlova
The single most important thing I've learned after making mini pavlova more times than I can count is to never rush the sugar addition. Adding it slowly, one tablespoon at a time, is what gives you that thick, glossy, stiff meringue. It feels tedious, but I promise those extra 8 minutes of patience will completely transform the texture of your final shells.
Gold Tip: Use room temperature egg whites, not cold ones straight from the fridge. Room temperature whites whip up faster, to a higher volume, and hold their structure much better in the oven. Just set your eggs out on the counter about 30 minutes before you start.
Little Moments in the Kitchen
The first time Olivia and I made mini pavlova together, she stood at the mixer watching the egg whites transform with the most dramatic look on her face. She kept asking, "Mom, are you sure that's going to be food? It just looks like shaving cream." I told her to trust the process. She looked skeptical the entire time we piped the little nests.
When they came out of the oven the next morning (we made them the night before for a Sunday brunch), perfectly crisp and white, she gasped like she'd never seen anything so beautiful. Then she piled about half a container of berries onto her pavlova and declared it "better than cake, actually." Coming from Olivia, that is basically the highest honor a dessert can receive in our house!
Substitutions for Mini Pavlova
- Vinegar: Swap white vinegar for an equal amount of fresh lemon juice. Works exactly the same as an acid stabilizer with a slightly brighter flavor.
- Fresh berries: Use thawed frozen berries if fresh aren't in season. Just pat them dry first so they don't bleed into the whipped cream too much.
- Heavy cream: For a dairy-free version, full-fat chilled coconut cream whips up beautifully and makes the topping just as fluffy and delicious.
- Sugar: Caster sugar (superfine sugar) dissolves faster than regular granulated and is actually my first choice whenever I can find it at the store.
Variations on Mini Pavlova
- Tropical: Swap the fresh berries for sliced mango, kiwi, and passion fruit pulp drizzled over the whipped cream. It feels like a vacation in a bite and is stunning on a summer dessert table.
- Chocolate: Fold 2 tablespoons of sifted cocoa powder gently into the meringue after the cornstarch step for a soft chocolate shell. Top with whipped cream and shaved dark chocolate for a seriously rich twist.
- Kid-Friendly: Let the kids go wild and turn theirs into a "candy pavlova" topped with whipped cream, rainbow sprinkles, and crushed graham crackers. Olivia designed this variation herself, and it is genuinely a hit at every playdate we host.
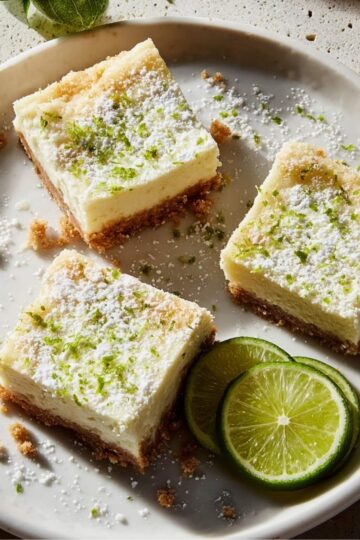
If you love simple, fruity no-bake desserts, you'll also want to check out these key lime pie bars on the blog!
Equipment for Mini Pavlova

- Stand mixer or hand mixer: Essential! You cannot get stiff peaks by hand. A stand mixer lets you add sugar gradually without stopping to adjust speed. A good hand mixer works perfectly fine too.
- Parchment paper: Never use a greased pan or aluminum foil. Parchment is non-stick and allows the bottoms to dry out evenly without sticking or sweating.
- Piping bag with a large star tip: Optional, but it gives you those gorgeous swirled nest edges that make mini pavlovas look bakery-level pretty. A zip-lock bag with the corner snipped off is a great backup.
- Rubber spatula: Use this for folding in the cornstarch and vinegar. A stiff spoon can deflate the meringue too aggressively.
Storage Tips for Mini Pavlova
- Meringue nests (unfilled): Store in an airtight container at room temperature for up to 2 days. Keep them away from humidity, which is their biggest enemy and will make them soft and sticky.
- Assembled mini pavlovas: Best eaten the same day once topped. The cream softens the shells overnight and they lose their signature crisp texture.
- Freezing: The plain, unfilled meringue nests can be frozen in a single layer in an airtight container for up to 1 month. Thaw at room temperature before topping. Do not freeze assembled pavlovas with whipped cream, as the cream will break and become watery.
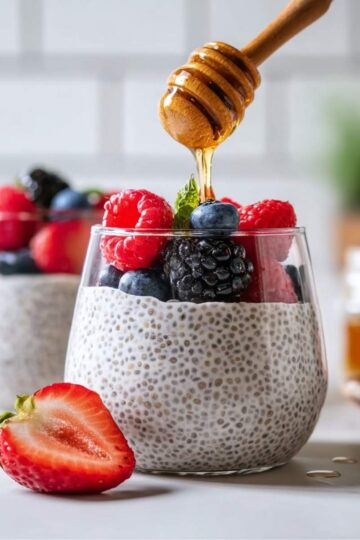
For another light and creamy make-ahead treat, my chia pudding is also a great option to prep the night before!
Olivia's Tip for Mini Pavlova
"Mom, don't forget the strawberries. LOTS of strawberries. And make the whipped cream really tall so it's like a little cloud mountain." Honestly? Olivia's cloud mountain technique is now the official presentation style in our house. She's not wrong.
FAQ About Mini Pavlova
What is the difference between meringue and mini pavlova?
Meringue is baked fully dry and crisp all the way through, while mini pavlova uses cornstarch and acid to create a crisp outer shell with a soft, marshmallow-like center. Pavlova is essentially a meringue that has been perfected with a few extra ingredients for texture.
Can I make mini pavlovas ahead of time?
Yes! This is actually one of the best things about this recipe. Bake the meringue nests the night before and store them uncovered (or loosely covered) at room temperature. Add the whipped cream and fresh berries right before serving so the shells stay perfectly crisp.
Why did my mini pavlova crack?
Cracking usually happens from a sudden temperature change. Always let the pavlovas cool slowly inside the turned-off oven with the door closed for at least 1.5 to 2 hours. Never open the oven door while they're baking or cooling.
How long does mini pavlova last?
Unfilled meringue nests stay fresh for up to 2 days at room temperature in an airtight container. Once topped with whipped cream and fruit, plan to eat them the same day for the best texture and taste.
Conclusion
If you've been a little nervous to try making mini pavlova at home, I really hope this recipe shows you just how approachable it is. With a few simple ingredients, a clean bowl, and a little patience while that sugar goes in slowly, you will get beautiful, impressive little nests every single time. This is truly one of those recipes that looks way harder than it actually is.
These mini pavlovas have become one of our most requested desserts for everything from spring brunches to birthday celebrations, and I love that Olivia and I can make them together start to finish. For more inspiration on classic pavlova toppings and berry combinations, check out this Mini Berry Pavlovas guide on Allrecipes. Now go make a batch, pile on the berries, and enjoy every single bite!
Related
Looking for other recipes like this? Try these:

Pairing
These are my favorite dishes to serve with Mini Pavlova:
📖 Recipe
Mini Pavlova Recipe (Crispy Outside, Marshmallow Soft Inside)
Ingredients
Equipment
Method
- Jasmine: "Before Olivia and I even touch the eggs, we always start by lining our baking sheets together. She loves tracing the little circles for the nests, it makes her feel like she's designing dessert art."
- Jasmine: Preheat the oven to 225°F (107°C). I always tell Olivia this is the calm-before-the-storm step, everything magical starts slow in pavlova making.
- Jasmine: In a clean bowl, whisk the egg whites with cream of tartar until foamy. Olivia always laughs here because it looks like fluffy clouds forming right in front of us.
- Jasmine: Slowly add the white granulated sugar, one spoon at a time, while whipping. This is where patience becomes love, Olivia is my official "sugar helper" and counts every spoon like a ritual.
- Jasmine: Beat until glossy stiff peaks form, then rub a little between fingers, no grainy sugar. Olivia always insists on "taste testing the air" at this stage.
- Jasmine: Gently fold in cornstarch, white vinegar, and vanilla extract. I remind Olivia to move like she's hugging the batter, slow and gentle so we don't lose that fluffiness.
- Jasmine: Spoon or pipe the meringue into little nests on the parchment paper. Olivia always overfills hers and calls it "the biggest cloud in the sky."
- Jasmine: Bake at 225°F for 30 minutes, then turn the oven off and let them cool inside for 2 hours. This slow cooling is our patience lesson, and honestly, the hardest part for Olivia!
- Jasmine: Whip heavy whipping cream with powdered sugar until soft peaks form. Olivia loves watching it turn into "snow cream" as she calls it.
- Jasmine: Fill each nest with whipped cream and top with fresh mixed berries. This is Olivia's favorite part, she builds hers like a rainbow mountain every time.
Nutrition
Notes
- Always use a completely clean, grease-free bowl or the egg whites won't whip properly.
- Add sugar slowly for the best glossy meringue texture.
- Cool pavlovas fully in the oven to prevent cracking.
- Assemble just before serving to keep the shells crisp.
- Try variations like tropical fruit, chocolate pavlova, or kid-style sprinkle toppings for fun family baking moments.
Leave a Reply