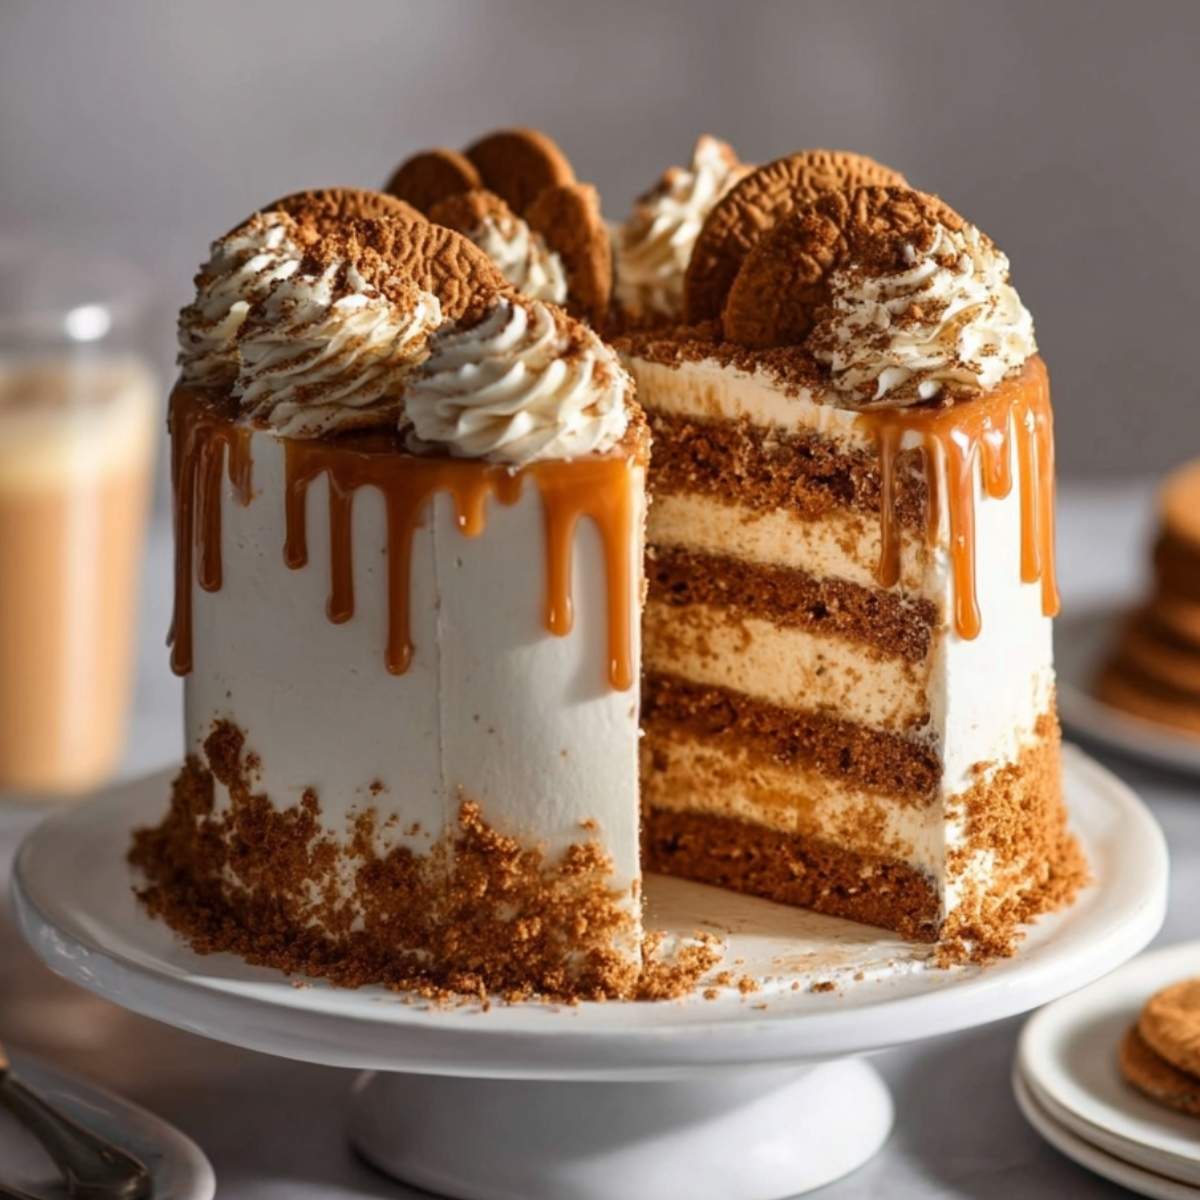
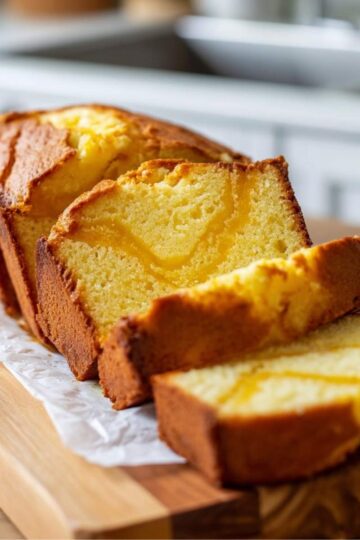
Biscoff cake is one of those recipes that stops people mid-bite and makes them ask, "Wait, what IS this?" It has these warm, lightly spiced cake layers that taste like someone melted a whole sleeve of Lotus Biscoff cookies right into the batter. The Biscoff buttercream is thick, creamy, and rich with that signature cookie butter flavor, and honestly? Once you make it, you will never look at a plain vanilla cake the same way again.
This is also the kind of cake that fits every single occasion. We make it for birthdays, for cozy Sunday afternoons, for "just because it is Thursday" moments. Around here, every time the holidays roll around, Olivia starts asking if we can make our Biscoff cake, and honestly, I cannot blame her one bit. It is that good.
Jump to:
- Why You'll Love This Biscoff Cake
- Ingredients for Biscoff Cake
- How to Make Biscoff Cake
- My Top Tips for Biscoff Cake
- Little Moments in the Kitchen
- Substitutions for Biscoff Cake
- Variations on Biscoff Cake
- Equipment for Biscoff Cake
- Storage Tips for Biscoff Cake
- Olivia's Tip for Biscoff Cake
- FAQ about Biscoff Cake
- Related
- Pairing
- 📖 Recipe
Why You'll Love This Biscoff Cake
- It is deeply flavorful with zero effort. The Biscoff spread and crushed Lotus Biscoff cookies do all the heavy lifting for flavor, so you do not need a long list of spices or fancy equipment.
- It is a total crowd-pleaser. Kids go wild for the cookie butter flavor, and adults love the brown butter depth. It works for birthdays, potlucks, holidays, and everything in between.
- It is surprisingly simple to make from scratch. No bakery run needed. This is a straightforward, beginner-friendly biscoff cake recipe that gives you bakery-level results right in your own kitchen.
Ingredients for Biscoff Cake
You probably have most of these pantry basics already, and the Biscoff-specific ingredients are easy to find at most grocery stores or online. Here is everything you need to make this beautiful cookie butter cake come together.
What You'll Need
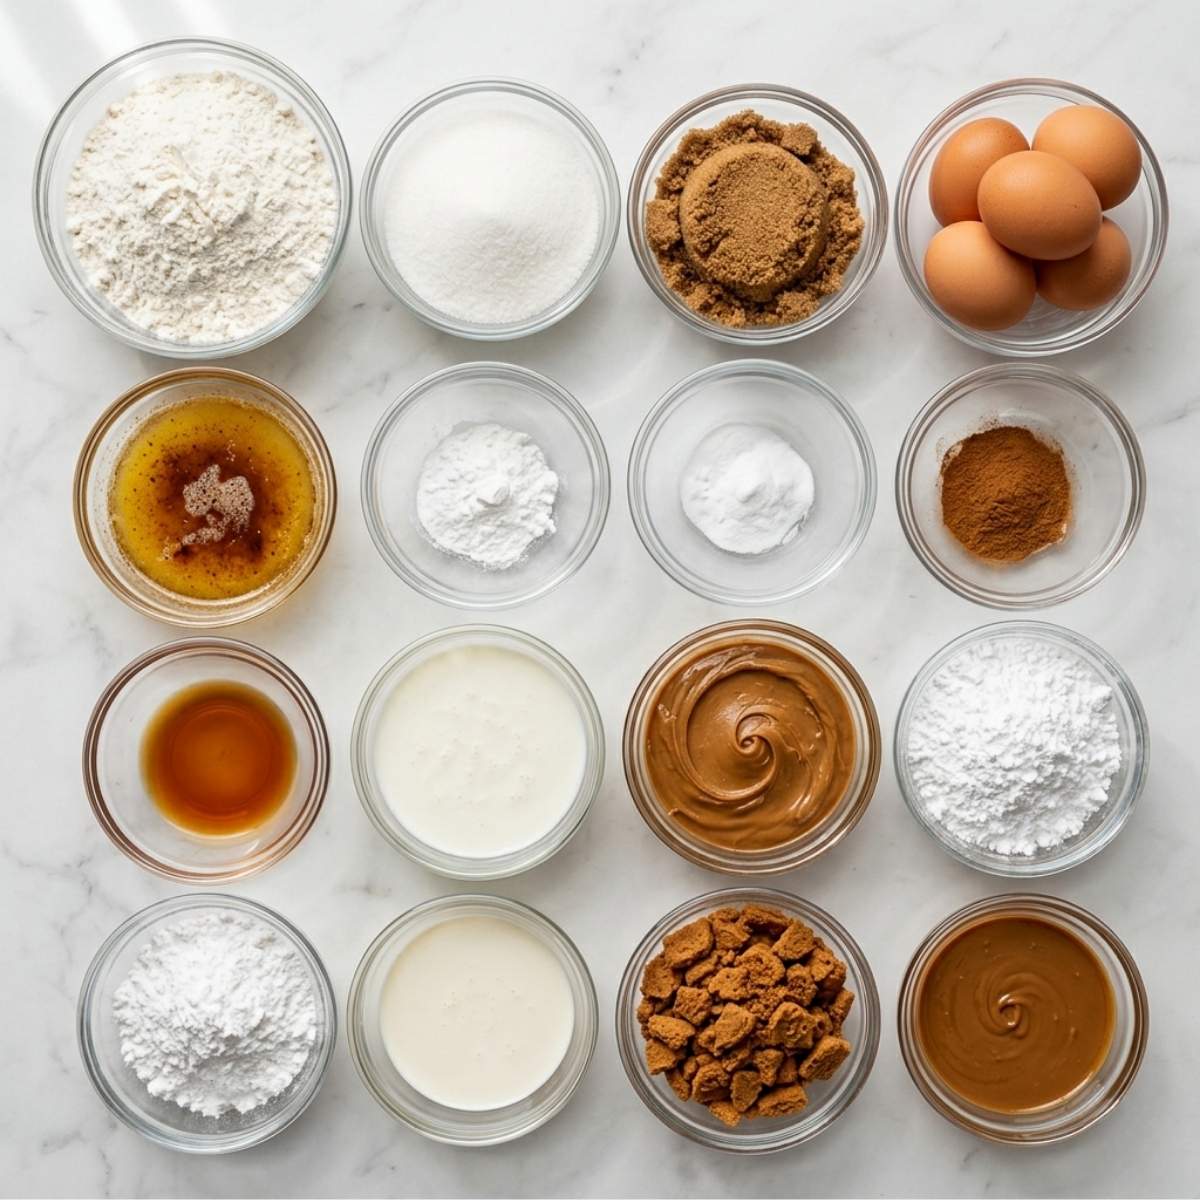
For the Cake Layers:
- 2 and ½ cups all-purpose flour
- 2 teaspoons baking powder
- ½ teaspoon baking soda
- ½ teaspoon salt
- 1 teaspoon cinnamon
- 1 cup unsalted butter, browned and cooled
- 1 cup granulated sugar
- ½ cup brown sugar, packed
- ½ cup Biscoff spread (cookie butter)
- 3 large eggs, room temperature
- 2 teaspoons vanilla extract
- 1 cup buttermilk, room temperature
For the Biscoff Buttercream Frosting:
- 1 cup unsalted butter, softened
- ¾ cup Biscoff spread
- 3 and ½ cups powdered sugar
- 3 to 4 tablespoons heavy cream
- 1 teaspoon vanilla extract
- Pinch of salt
For the Topping:
- 8 to 10 crushed Lotus Biscoff cookies
- 3 tablespoons melted Biscoff spread for drizzle
Why These Ingredients Matter
- Brown butter is the secret weapon in this biscoff cake. When you cook butter until it turns golden and smells nutty, it develops a deep, caramel-like flavor that makes the cake taste like it came from a real patisserie. Do not skip this step.
- Biscoff spread (cookie butter) goes into both the batter AND the frosting. It is the star of the whole show. It brings that warm, spiced caramel flavor that makes biscoff cake completely unlike any other cake you have ever tasted.
- Buttermilk is what keeps these cake layers incredibly moist and tender. It reacts with the baking soda to give you a soft, fluffy crumb that holds up beautifully under all that rich Biscoff buttercream frosting.
How to Make Biscoff Cake
Step-by-Step Directions
Step 1: Brown the butter. Place your unsalted butter in a light-colored saucepan over medium heat. Stir gently and watch it carefully until it turns a golden amber color and smells toasty and nutty, about 5 to 7 minutes. Pour it immediately into a heatproof bowl and let it cool to room temperature. This step is the foundation of your biscoff cake flavor, so give it the attention it deserves.
Pro-Tip: Use a light-colored pan so you can clearly see the color change. The butter goes from golden to burned very fast, so do not walk away from the stove.
Step 2: Preheat and prep your pans. Preheat your oven to 350°F (175°C). Grease and flour two 9-inch round cake pans, or a 9x13 pan if you prefer a sheet-style biscoff cake. Line the bottoms with parchment paper so nothing sticks.
Step 3: Mix the dry ingredients. In a medium bowl, whisk together the flour, baking powder, baking soda, salt, and cinnamon until evenly combined and no lumps remain. Set this aside.
Step 4: Cream the butter, sugars, and Biscoff spread. In a large mixing bowl, beat the cooled brown butter, granulated sugar, and brown sugar together on medium speed until light and fluffy, about 3 minutes. Add the Biscoff spread and mix until fully smooth and creamy, about 1 more minute.
Step 5: Add the eggs and vanilla. Add the eggs one at a time, beating well after each addition until the mixture looks pale and glossy. Mix in the vanilla extract until fully incorporated.
Step 6: Alternate the dry ingredients and buttermilk. With your mixer on low, add the dry ingredient mixture in three additions, alternating with the buttermilk in two additions. Start and end with the dry ingredients. Mix just until combined and the batter looks smooth and no dry streaks remain. Do not overmix.
Pro-Tip: Overmixing activates the gluten and will make your biscoff cake layers dense and tough instead of soft and tender. Stop mixing the moment you no longer see dry flour streaks.
Step 7: Bake until a toothpick comes out clean. Divide the batter evenly between your prepared pans and smooth the tops with a spatula. Bake at 350°F for 28 to 32 minutes, until the tops are golden brown and a toothpick inserted into the center comes out with just a few moist crumbs attached, not wet batter.
Step 8: Cool completely before frosting. Let the cakes cool in the pans for 10 minutes, then carefully turn them out onto a wire rack. Let them cool completely before adding any frosting. Frosting a warm cake is a guaranteed melted, sliding disaster.
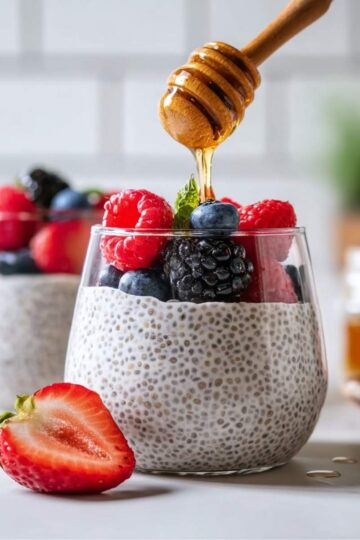
While your cake cools, check out my Chia Pudding recipe for a light and creamy snack to keep you going in the meantime!
Step 9: Make the Biscoff buttercream frosting. Beat the softened butter on medium-high speed until pale and very fluffy, about 4 minutes. Add the Biscoff spread and beat for another 2 minutes until completely smooth. Slowly add the powdered sugar one cup at a time, mixing on low so it does not puff everywhere. Add the heavy cream, vanilla, and a pinch of salt. Beat on medium-high for 3 to 4 minutes until the frosting is light, creamy, and beautifully spreadable.
Step 10: Assemble and decorate your biscoff cake. Place the first cake layer on your serving plate or cake board. Spread a generous, thick layer of Biscoff buttercream on top. Add the second layer and use an offset spatula to frost the outside of the entire cake smoothly. Drizzle melted Biscoff spread over the top and press crushed Lotus Biscoff cookies around the edges and on top to finish.
Hint: Warm your Biscoff spread in the microwave for 15 to 20 seconds until it is just barely pourable before drizzling. It gives you that gorgeous bakery-style drip without making the frosting underneath slide off.
My Top Tips for Biscoff Cake
The single biggest thing that will take your biscoff cake from good to truly unforgettable is using room temperature ingredients. Cold eggs and cold buttermilk do not mix smoothly into the batter, and you end up with a dense, uneven crumb that bakes up heavy instead of light and soft. Pull everything out of the fridge at least 45 minutes before you start baking and your cake will thank you for it.
Gold Tip: Do not rush the brown butter step. That nutty, caramelized depth is literally what makes this biscoff cake taste like a professional bakery made it. Set a timer, stand at the stove, and watch it happen. It takes under 10 minutes and it makes every single bite taste more incredible.
Little Moments in the Kitchen
The first time I made this biscoff cake with Olivia, she was absolutely convinced the brown butter had burned. She kept peeking into the pan, tugging at my sleeve, and saying "Mom, I'm pretty sure that's ruined. It smells really weird." I had to explain that "weird" in this case was actually the smell of something delicious happening right in front of us. She was skeptical, bless her heart.
Then I let her taste the finished Biscoff buttercream frosting straight from the bowl, and I watched her entire face change. She went completely silent for a full three seconds, which any parent of an 11-year-old will tell you is basically a miracle. Then she looked up and said, "Okay. You were right. This is the best thing I have ever eaten in my whole entire life." She has said that about four other recipes this year too, but this time I genuinely believed her.
Substitutions for Biscoff Cake
- Dairy-free: Swap the butter for a good quality vegan butter like Miyoko's and use full-fat canned coconut milk in place of buttermilk. The biscoff cake will still be moist and packed with cookie butter flavor.
- Gluten-free: Use a 1:1 gluten-free all-purpose flour blend. The texture will be slightly denser but still delicious. Check that your Biscoff spread is from a certified gluten-free batch, as standard Lotus Biscoff cookies do contain wheat.
- No buttermilk on hand: Mix 1 cup of regular whole milk with 1 tablespoon of white vinegar or lemon juice. Let it sit for 5 minutes until it curdles slightly. It works perfectly as a buttermilk substitute every time.
- Egg-free: Use one flax egg per egg called for (1 tablespoon ground flaxseed mixed with 3 tablespoons water, rested 5 minutes). The biscoff cake will be slightly more dense but still holds together well and tastes amazing.
Variations on Biscoff Cake
- Spicy Biscoff: Add an extra half teaspoon of cinnamon, a pinch of cardamom, and a tiny pinch of ground cloves to the batter. It leans deep into the speculoos spice profile and gives the cake a warm, holiday-spiced depth that is absolutely stunning in fall and winter.
- Biscoff Drip Birthday Cake: Add a layer of cookie butter filling between the layers (slightly warmed Biscoff spread stirred with a little heavy cream until pourable) and do a dramatic melted Biscoff drip around the outside edges. Stand whole Lotus Biscoff cookies upright in the frosting on top. This is exactly the biscoff cake Olivia requests every single birthday without fail.
- 9x13 Sheet Cake: Pour the batter into a greased 9x13 pan, bake for 35 to 38 minutes until a toothpick comes out clean, and frost directly in the pan. Finish with crushed cookies on top. This is my favorite version for potlucks and school events because it is easy to slice, transport, and serve to a crowd.
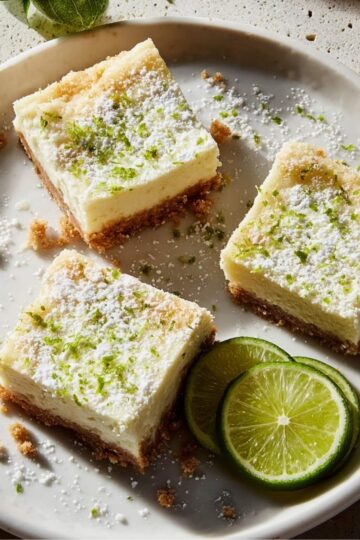
If you love easy, crowd-pleasing bar-style desserts, my Key Lime Pie Bars are always a massive hit at gatherings and pair beautifully after a rich slice of biscoff cake.
Equipment for Biscoff Cake
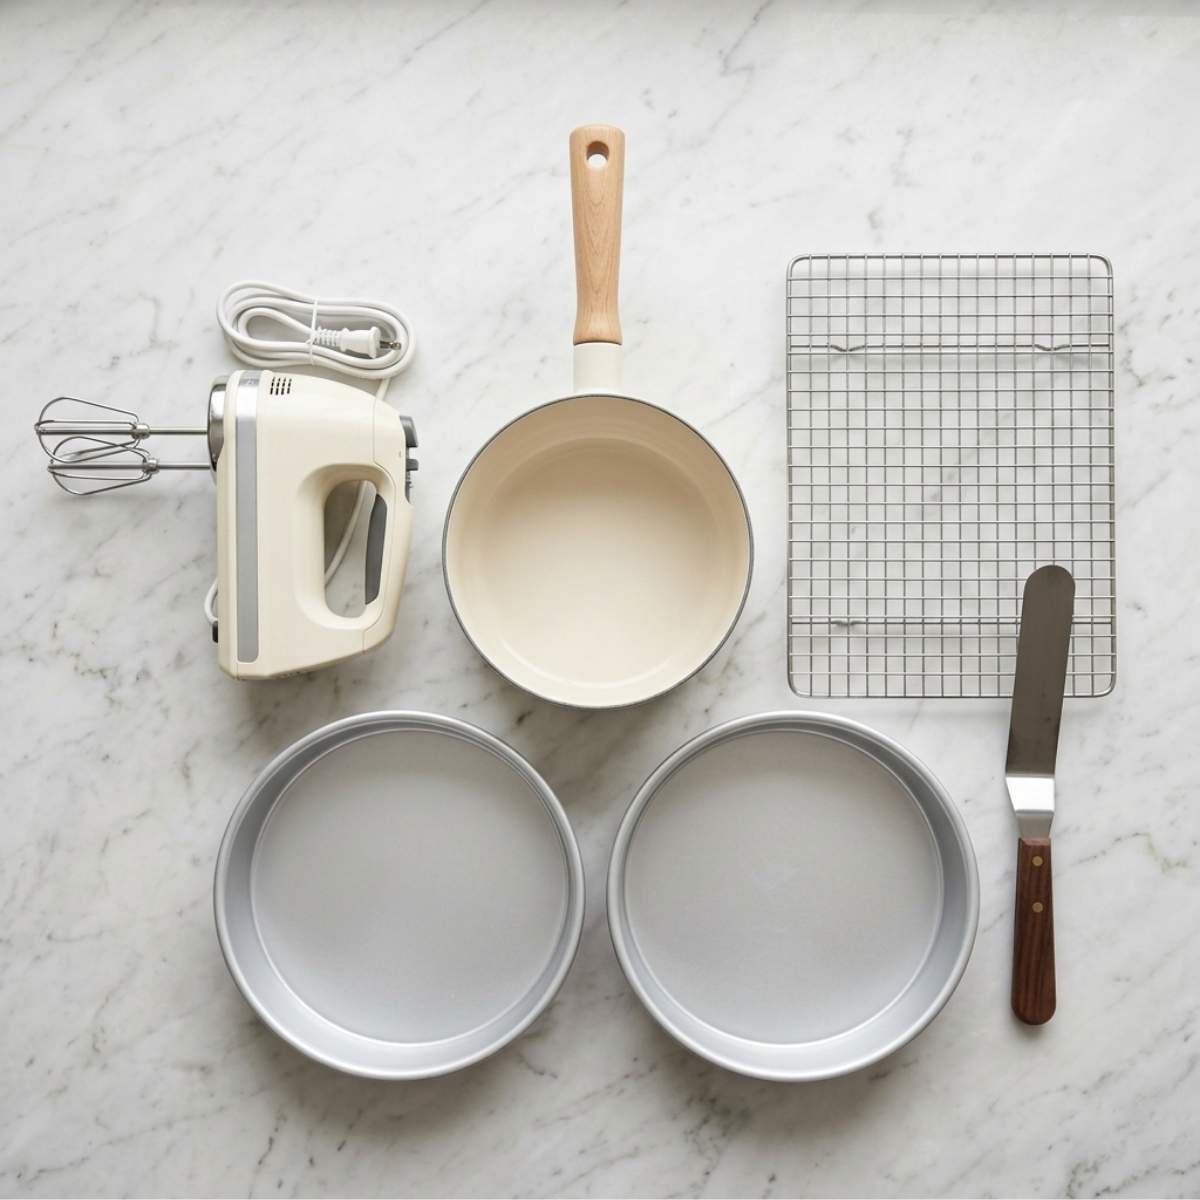
- Light-colored saucepan: Essential for browning butter safely. Dark pans make it impossible to see the color change and you risk burning everything in seconds.
- Stand mixer or hand mixer: Creaming butter and sugar properly takes sustained mixing that is incredibly hard to do by hand. A mixer gives you the light, aerated batter you need for fluffy cake layers.
- Two 9-inch round cake pans: For even, level biscoff cake layers. Use light-colored aluminum pans for the most even baking. Dark pans run hotter and can over-brown the edges before the center is fully set.
- Wire cooling rack: Non-negotiable. Cooling the layers on a rack prevents soggy bottoms from trapped steam and condensation underneath the cake.
- Offset spatula: Makes frosting the outside of the biscoff cake smooth and beautiful without tearing the crumb. A regular butter knife works in a pinch, but an offset spatula truly is a game changer for finishing the cake cleanly.
Storage Tips for Biscoff Cake
- Room temperature: Cover the frosted biscoff cake tightly with a cake dome or plastic wrap and store at room temperature for up to 2 days if your kitchen is not too warm.
- Refrigerator: Store in an airtight container or wrapped tightly in the fridge for up to 4 days. The butter-based Biscoff buttercream holds up well in the fridge. Let slices sit at room temperature for 20 minutes before eating so the frosting softens back up to its creamy texture.
- Unfrosted cake layers: Wrap individual layers tightly in plastic wrap, then in foil, and freeze for up to 2 months. Thaw overnight in the fridge before assembling and frosting.
- Important: Do not freeze an assembled and frosted biscoff cake. The heavy cream in the Biscoff buttercream will separate after thawing and the texture turns grainy and unpleasant. Always freeze unfrosted layers only.
- Cookie topping: Store the crushed Biscoff cookie crumble separately and sprinkle it on just before serving to keep that satisfying crunch intact.
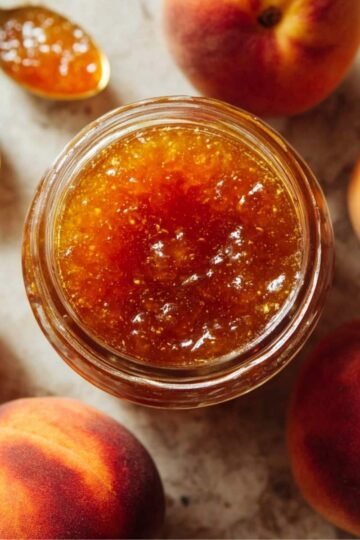
For another sweet treat that stores beautifully and tastes incredible all week, my Homemade Peach Jam is absolutely gorgeous spread on a leftover slice of this cake.
Olivia's Tip for Biscoff Cake
Olivia says to always, always add extra crushed Biscoff cookies on top because "the crunchy part is the best part of the whole entire cake." She also says you should sneak one whole cookie on the side of your plate for dipping into the frosting. I am not going to tell her she is wrong about that.
FAQ about Biscoff Cake
What is a Biscoff cake made of?
A biscoff cake is made with a butter-based cake batter that includes Biscoff spread (also called cookie butter) for its signature flavor, along with flour, eggs, sugar, and buttermilk for moisture and tenderness. The frosting is a rich Biscoff buttercream made from softened butter, powdered sugar, and more Biscoff spread. Crushed Lotus Biscoff cookies are pressed on top for crunch and decoration.
What flavor is Biscoff cake?
Biscoff cake tastes like warm, lightly spiced caramel cookies baked right into a tender cake layer. The flavor comes from the Biscoff spread, which is made from crushed speculoos cookies. You get notes of cinnamon, brown sugar, and a gentle caramel depth that makes it completely unlike any other cake flavor out there.
What kind of flavor is Biscoff?
Biscoff, also known as speculoos, has a warm, spiced caramel flavor with notes of cinnamon, nutmeg, ginger, and brown sugar all working together. It is cozy, sweet, and deeply comforting. Most people describe it as tasting like the very best version of a perfectly spiced holiday cookie.
Is Biscoff healthier than peanut butter?
Biscoff spread and peanut butter are fairly similar in calories, but quite different nutritionally. Peanut butter has more protein and less sugar, while Biscoff spread is higher in sugar and lower in protein. Peanut butter is generally the more nutritious everyday choice, but both are treats best enjoyed in moderation. And in this biscoff cake, Biscoff spread is absolutely worth every single bite.
Conclusion
This biscoff cake is genuinely one of the most-requested recipes in our house, and once you bake it yourself you will completely understand why. The brown butter batter, the creamy cookie butter frosting, and those crunchy crushed Lotus Biscoff cookies on top create something that feels really special without requiring any professional baking skills whatsoever.
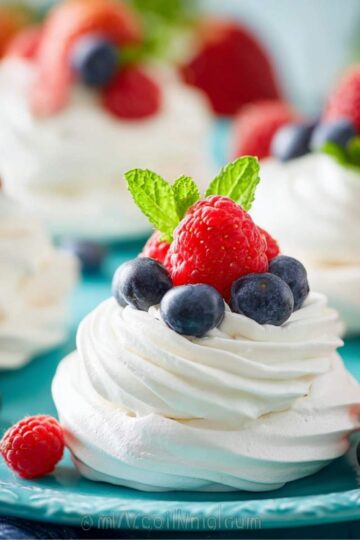
Whether you are making this biscoff cake for a birthday celebration, a holiday dessert table, or just a fun weekend baking project with someone you love, it delivers every single time. If you are looking for a fun fruity twist on the same cookie butter theme, check out this Strawberry Biscoff Crunch Cake on AllRecipes for some extra inspiration. And if you love beautiful, elegant individual desserts to serve alongside, my Mini Pavlova recipe is another total showstopper worth adding to your list. Happy baking, friends!
Related
Looking for other recipes like this? Try these:


Pairing
These are my favorite dishes to serve with Biscoff Cake:

📖 Recipe
Easy Biscoff Cake with Creamy Cookie Butter Frosting
Ingredients
Equipment
Method
- In a saucepan, melt the [unsalted butter] over medium heat until golden and nutty. I always have Olivia stand next to me for this step, it smells a little "weird" at first, and she loves guessing when it turns into that rich, caramel aroma. Let it cool completely.
- Preheat your oven to 350°F (175°C) and grease your cake pans. Olivia usually takes charge of brushing butter into the pans, it's her "official job," and she takes it very seriously.
- In a bowl, whisk together the [all-purpose flour], [baking powder], [baking soda], [salt], and [cinnamon]. I let Olivia do the whisking, it's a simple step that makes her feel like a pro.
- Beat the cooled brown butter with [granulated sugar] and [brown sugar] until light and fluffy. Add the [Biscoff spread] and mix until creamy. This is where the magic really starts, Olivia always sneaks a tiny taste here.
- Add the [eggs] one at a time, then mix in the [vanilla extract]. I always remind Olivia to crack eggs gently, less shell, more smiles.
- Alternate adding the dry ingredients and [buttermilk] into the batter. Mix just until smooth. I tell Olivia this is where patience matters, overmixing can make the cake tough.
- Divide batter into pans and bake for 28-32 minutes until a toothpick comes out clean. The smell that fills the kitchen at this point? Pure happiness.
- Let cakes cool completely on a rack. Olivia always asks if we can frost early, and I always say, "Only if you want a sliding cake!"
- Beat [butter] until fluffy, then add [Biscoff spread]. Gradually mix in [powdered sugar], [heavy cream], [vanilla], and [salt] until creamy. Olivia calls this "the best frosting in the world", and honestly, she might be right.
- Layer the cakes with frosting, cover the outside, then drizzle melted [Biscoff spread] and sprinkle [crushed cookies] on top. This is Olivia's favorite part, decorating and making it look "extra fancy."
Nutrition
Notes
- Always use room temperature ingredients for a soft, even crumb.
- Don't skip browning the butter, it gives the cake its signature deep flavor.
- Store covered at room temperature for 2 days or refrigerate up to 4 days.
- For a gluten-free version, use a 1:1 gluten-free flour blend.
- Add extra crushed Biscoff cookies on top for crunch, Olivia insists this is the best part!

Leave a Reply