Homemade peach jam is one of those things that sounds fancy and complicated but is honestly one of the easiest and most rewarding things you can make in your kitchen. We are talking ripe, juicy peaches, sugar, and a squeeze of lemon juice, all cooked down into the most fragrant, golden, spoonable jam you have ever tasted. It tastes like summer in a jar, and once you make it yourself, you will never go back to store bought.
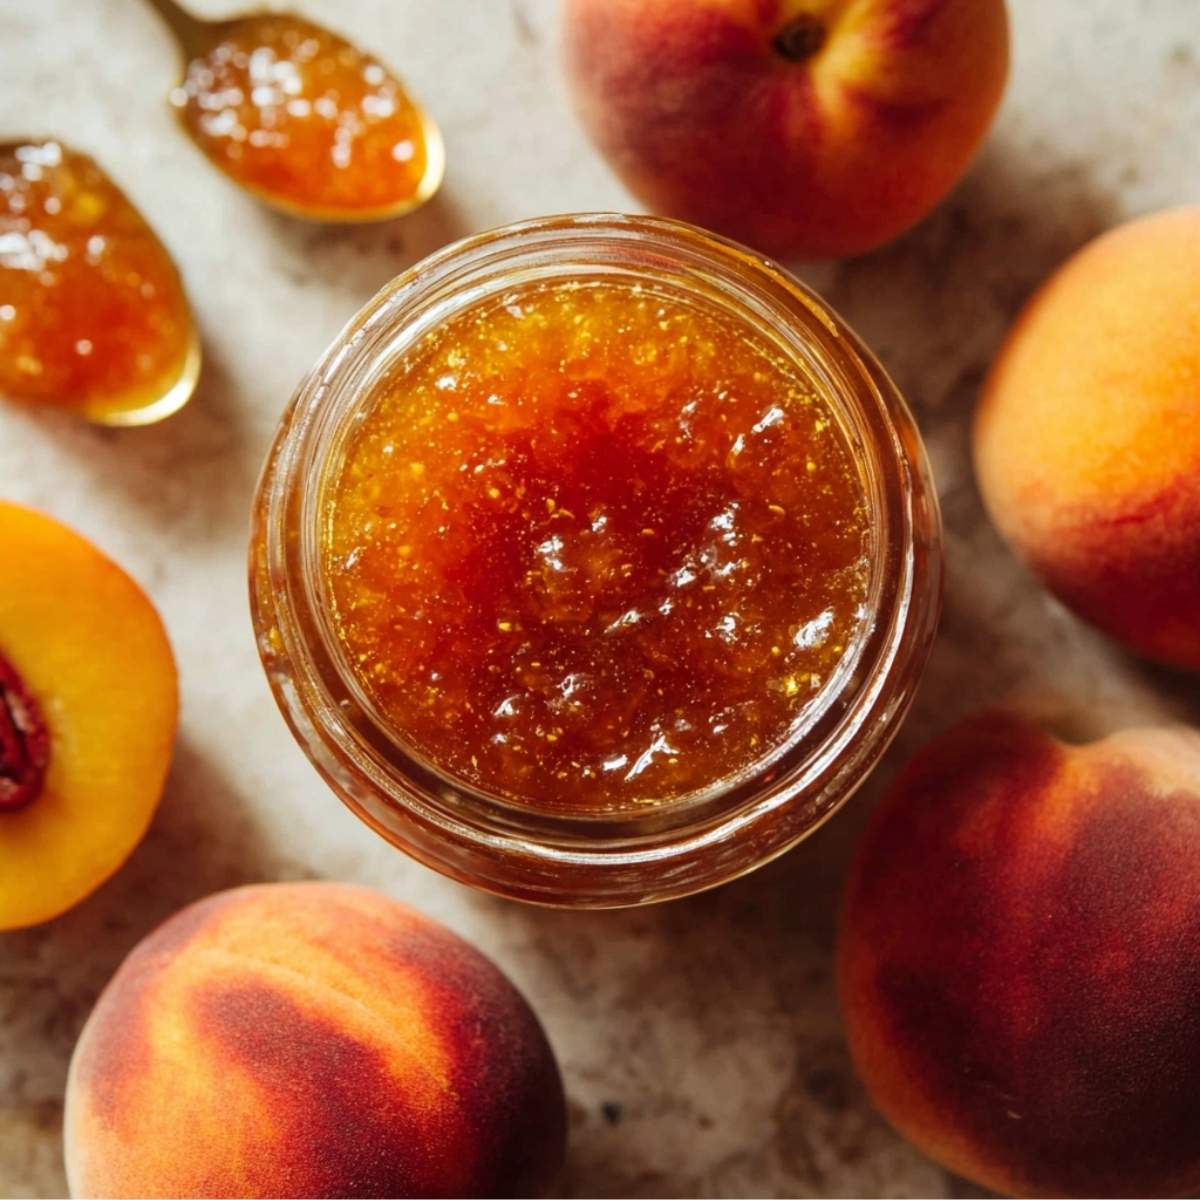
I make a big batch of homemade peach jam every single August when local peaches are at their absolute peak. It is one of my favorite summer rituals. I line up the jars on my counter, the whole kitchen smells incredible, and by the time the lids seal with that satisfying little pop, I feel like I have done something really good for my family. We use this jam on toast, in oatmeal, swirled into yogurt, and honestly just eaten straight off a spoon. It is that good.
Jump to:
- Why You'll Love This Homemade Peach Jam
- Ingredients for Homemade Peach Jam
- How to Make Homemade Peach Jam
- My Top Tips for Homemade Peach Jam
- Little Moments in the Kitchen
- Substitutions for Homemade Peach Jam
- Variations on Homemade Peach Jam
- Equipment for Homemade Peach Jam
- Storage Tips for Homemade Peach Jam
- Olivia's Tip for Homemade Peach Jam
- FAQ about Homemade Peach Jam
- Conclusion
- Related
- Pairing
- 📖 Recipe
Why You'll Love This Homemade Peach Jam
- Only 3 simple ingredients. Fresh peaches, sugar, and lemon juice. That is it. No mystery ingredients, no preservatives, just real fruit cooked down the old fashioned way into something outrageously delicious.
- No fancy canning experience needed. This homemade peach jam works as a quick refrigerator jam or a water bath canned jam for longer storage. Both methods are totally beginner-friendly and I walk you through every step.
- Makes your whole house smell incredible. I am not kidding. When this jam is bubbling on the stove, neighbors have knocked on my door. It is peak summer in your kitchen and Olivia comes running every single time.
Ingredients for Homemade Peach Jam
You really do not need much to make this homemade peach jam, and that simplicity is exactly what makes it so special. The peaches do all the heavy lifting here, so the fresher and riper your fruit, the better your jam will taste.
What You'll Need
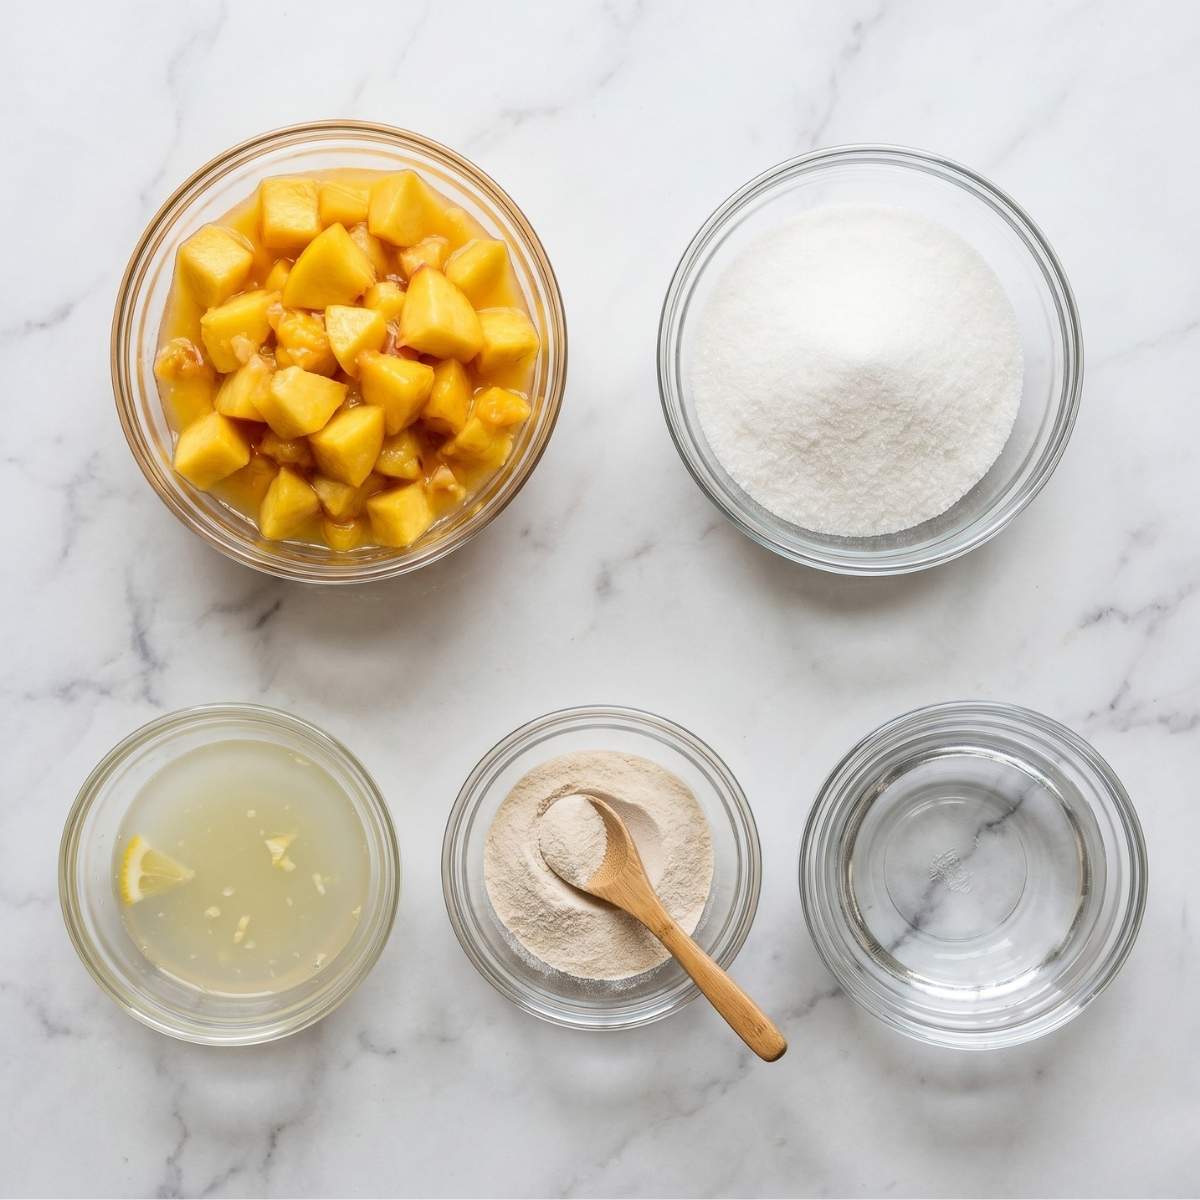
- Fresh ripe yellow peaches
- Granulated white sugar
- Fresh lemon juice
- Pectin, liquid or powdered (optional, for a firmer set)
- Water (for blanching)
Why These Ingredients Matter
- Ripe yellow peaches are the absolute foundation of a great homemade peach jam. Overripe peaches actually work beautifully here because they are softer, sweeter, and higher in natural pectin. Look for fruit that smells intensely peachy and gives just slightly when you press it.
- Fresh lemon juice does two very important things. It brightens the flavor of the jam so it does not taste flat or overly sweet, and it provides natural acidity that helps the jam set properly. It also helps preserve the gorgeous golden color of the peaches as they cook.
- Granulated sugar is what draws out the moisture from the peaches through osmosis and helps the jam reach that thick, spreadable consistency. It also acts as a natural preservative, which is why properly made jam lasts so long when canned.
How to Make Homemade Peach Jam
Step-by-Step Directions
- Blanch and peel your peaches. Bring a large pot of water to a full rolling boil. Score a shallow X on the bottom of each peach with a knife. Drop them in boiling water for 30 to 45 seconds until the skin starts to loosen and curl at the edges. Transfer immediately to a bowl of ice water. Once cool enough to handle, the skins will slip right off with your fingers.
Pro-Tip: Do not skip the ice bath. It stops the cooking instantly and keeps your peach flesh firm and bright, not mushy. This step makes peeling so effortless that even Olivia can do it.
- Chop your peaches. Pit and finely chop the peeled peaches, then measure out about 4 to 4 ½ cups. For a chunkier old fashioned homemade peach jam, leave some larger pieces. For a smoother spread, mash them with a fork or potato masher until you reach your preferred texture.
- Combine peaches, sugar, and lemon juice. Add your chopped peaches to a large, heavy-bottomed pot. Pour in the sugar and fresh lemon juice. Stir everything together until the sugar starts to dissolve and the mixture looks wet and glossy. Let it sit for 10 minutes so the peaches release their natural juices.
- Add pectin if using. If you are making homemade peach jam with pectin for a guaranteed firm set, stir in your Sure-Jell or liquid pectin now according to package directions. If you prefer homemade peach jam without pectin, skip this and simply cook the jam longer to reach the gel point naturally.
- Cook the jam over medium-high heat, stirring frequently, until the mixture comes to a full rolling boil that you cannot stir down. This takes about 10 to 15 minutes. You will see the bubbles get larger and more aggressive, and the mixture will start to look thicker and more syrupy.
- Check for doneness. Place a small plate in your freezer before you start cooking. When you think the jam is ready, drop a small spoonful onto the cold plate and let it sit for 30 seconds. Push it with your finger. If it wrinkles and holds its shape, your homemade peach jam has reached the gel point. For extra accuracy, use a candy thermometer and look for 220°F, which is the official gel point temperature.
- Skim any foam from the surface of the jam using a spoon. A tiny knob of butter stirred in at this point helps reduce foam naturally and adds a subtle richness.
- Ladle into jars. For refrigerator jam, pour the hot jam into clean glass jars, let it cool to room temperature, then seal and refrigerate. For water bath canning, ladle into sterilized jars, wipe the rims clean, apply the lids and bands, and process in a boiling water bath for 10 minutes. You will hear the lids pop as they seal while they cool on the counter, which is my favorite sound in the world.
Hint: Always use a wide-mouth funnel when filling your jars. It keeps the rims clean which is essential for a proper seal, and it saves you from a very sticky, very messy counter.
This jam pairs beautifully with a tall glass of something cold and fruity. My Strawberry Iced Tea Starbucks Copycat is a perfect summer companion alongside a warm piece of toast spread thick with this peach jam.
My Top Tips for Homemade Peach Jam
Do not rush the boiling stage. The biggest mistake in making homemade peach jam is pulling it off the heat too soon because it looks thick enough in the pot. Jam always looks thinner when it is hot. It thickens significantly as it cools, so trust the cold plate test or the thermometer rather than how it looks while cooking.
Gold Tip: Use a wide, heavy-bottomed pot rather than a tall, narrow one. More surface area means the water evaporates faster, which means your jam reaches the gel point more quickly and the peach flavor concentrates beautifully without the fruit getting overcooked and dull.
Little Moments in the Kitchen
Making homemade peach jam has become one of our biggest summer traditions. Last August Olivia stood at the stove next to me with a long-handled spoon, appointed herself the Official Foam Skimmer, and took that job extremely seriously. She would announce every bubble, every color change, and every wisp of foam like she was narrating a cooking show. At one point she leaned over the pot to get a better look and I had to grab her by the shoulder because her hair was dangerously close to the steam. She was absolutely unbothered by this.
When we finally ladled the jam into jars and she heard the first lid pop while it was cooling on the counter, her face completely lit up. She grabbed my arm and whispered, "Mom, it worked." Like we had done something miraculous together. And honestly? Watching her face in that moment, I kind of felt like we had.
Substitutions for Homemade Peach Jam
- Peaches with skins: You can absolutely make old fashioned peach jam with skins on. Skip the blanching, chop the peaches skin and all, and cook as directed. The skins soften completely during cooking and add a slightly deeper, more rustic flavor and a little extra color.
- No pectin: Homemade peach jam without pectin works great, you just need to cook it longer (up to 30 to 40 minutes) until it reaches 220°F. Riper peaches have more natural pectin and will set more easily on their own.
- Honey: Swap up to half the sugar for raw honey for a more floral, complex sweetness. Do not replace all the sugar with honey as it can make the jam too soft and affect the set.
- Low sugar: Reduce sugar by up to 25% if you prefer a less sweet jam, but use a low-sugar pectin like Sure-Jell for Reduced Sugar to compensate for the missing set.
- Vegan: This recipe is already fully plant-based. Just skip the optional butter used to reduce foam.
Variations on Homemade Peach Jam
- Spiced peach jam: Add ½ teaspoon of ground cinnamon and a pinch of allspice to the pot along with the sugar. This version of homemade peach jam tastes like fall in the best possible way and is absolutely stunning on warm biscuits or stirred into oatmeal on a cold morning.
- Peach vanilla jam: Stir in 1 teaspoon of pure vanilla extract right at the end of cooking, just before you ladle into jars. The vanilla rounds out the sweetness and makes this jam taste almost like peach ice cream. Olivia calls this one the fancy version and requests it constantly.
- Peach ginger jam: Add 1 tablespoon of freshly grated ginger to the pot along with your peaches. The ginger adds a bright, slightly spicy warmth that cuts through the sweetness and makes this unique peach jam recipe feel a little unexpected and totally memorable.
Equipment for Homemade Peach Jam
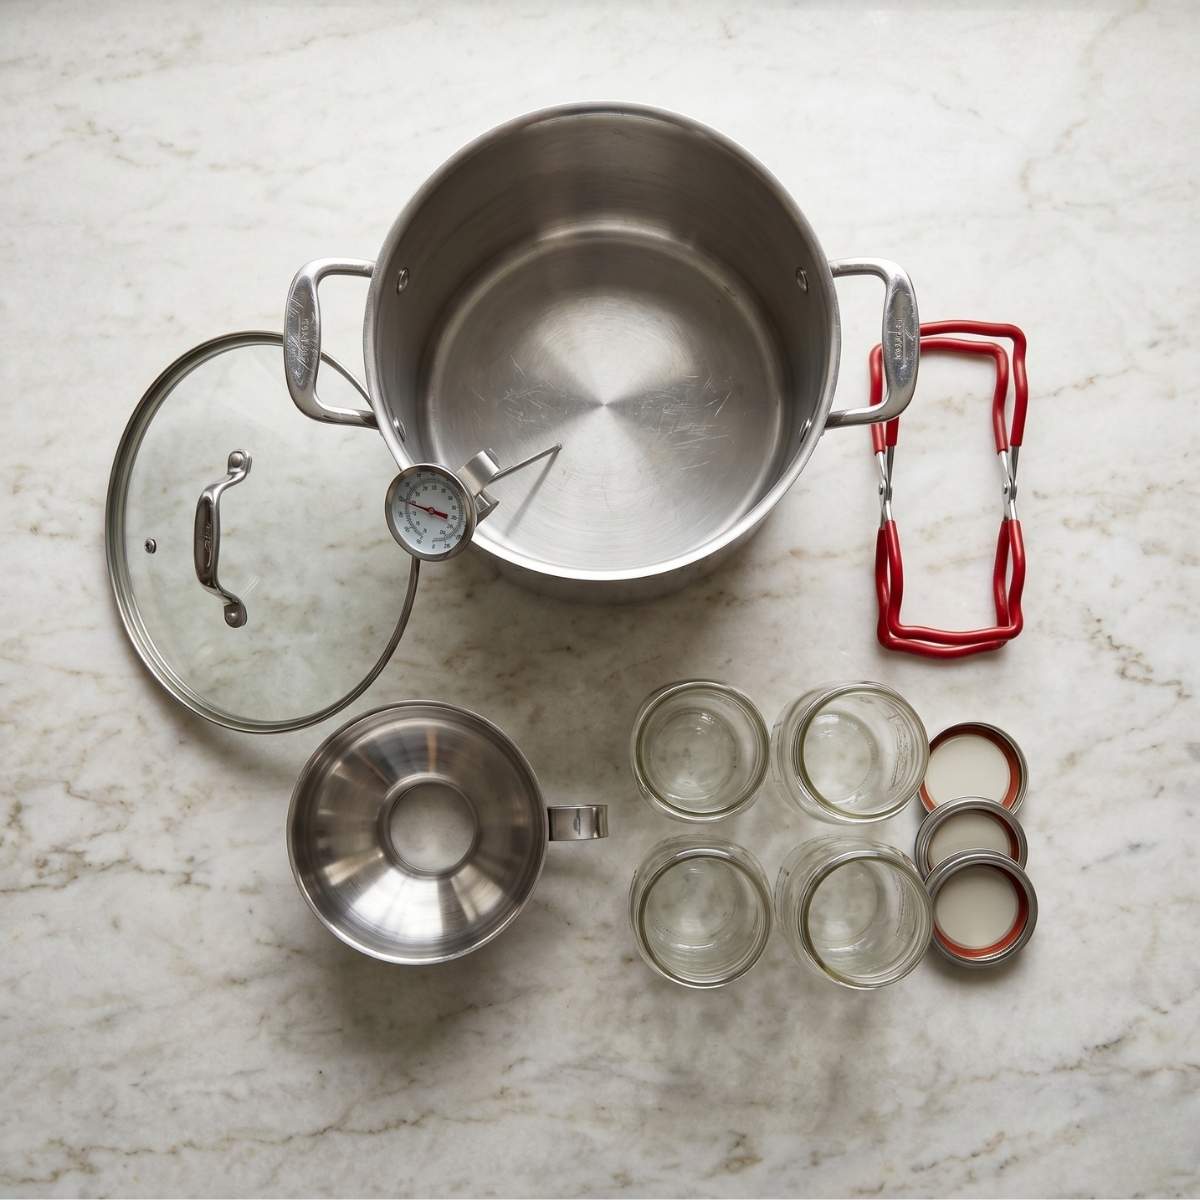
- Large heavy-bottomed pot (5 to 6 quart): Essential. A thin pot will scorch your jam on the bottom before it has a chance to cook properly. Stainless steel or enameled cast iron are both excellent choices.
- Candy thermometer: Takes all the guesswork out of reaching the 220°F gel point. Highly recommend if this is your first time making homemade peach jam.
- Wide-mouth canning funnel: Keeps jar rims clean for a proper seal and makes filling fast and easy.
- Jar lifter tongs: If you are doing water bath canning, these are non-negotiable for safely lowering and lifting hot jars in and out of boiling water.
- Sterilized mason jars with new lids: Always use new lids for canning. Reusing old lids risks a failed seal which is a food safety issue.
Storage Tips for Homemade Peach Jam
- Refrigerator jam: Store in clean sealed jars in the fridge for up to 3 weeks. No water bath needed for short-term use.
- Water bath canned jars (sealed): Properly processed and sealed jars of homemade peach jam can be stored in a cool, dark pantry for up to 12 months. Once opened, refrigerate and use within 3 weeks.
- Freezer: Ladle cooled jam into freezer-safe containers leaving ½ inch of headspace for expansion. Freeze for up to 1 year. Thaw overnight in the refrigerator before using.
- Safety note: If any jar did not seal properly after water bath canning (the lid flexes up and down when pressed), refrigerate that jar and use it within 3 weeks. Do not store an unsealed jar at room temperature.
On a warm afternoon, a thick slice of toast with this jam and a glass of my Blue Moon Milk Tea is genuinely one of my favorite little moments of the day.
Olivia's Tip for Homemade Peach Jam
Olivia says you should always sneak a little bit of warm jam over vanilla ice cream the same day you make it, before it even goes into the jars. She is right. It is warm, syrupy, and absolutely perfect. Call it quality control.
FAQ about Homemade Peach Jam
Is peach jam better with or without pectin?
Both versions are genuinely delicious, and it really comes down to what you want from your jam. Homemade peach jam with pectin sets more firmly, cooks faster, and has a brighter, fresher fruit flavor since the peaches spend less time on the heat. Homemade peach jam without pectin has a deeper, more concentrated flavor and a softer, slightly looser set. I love both versions for different reasons, but for beginners I usually recommend starting with pectin for a no-stress, guaranteed result.
Can peaches lower cholesterol?
Peaches are a good source of fiber, potassium, and antioxidants, and some studies suggest the fiber in stone fruits can support healthy cholesterol levels as part of a balanced diet. That said, jam is a sweetened product, so it is a treat rather than a health food. Enjoy it as the delicious, fruit-forward spread that it is!
How to make peach jam at home?
The basic method is simple. Peel and chop ripe peaches, combine with sugar and lemon juice in a heavy pot, bring to a full rolling boil, and cook until the jam reaches 220°F or passes the cold plate test. Ladle into jars and either refrigerate or process in a water bath canner. I walk through every step in detail above!
Is it necessary to peel peaches for jam?
It is not strictly necessary. The skins are completely edible and soften fully during cooking. Many people love old fashioned peach jam with skins for the extra texture and color it adds. That said, if you want a smoother, more uniform jam, blanching and peeling takes just a few minutes and makes a noticeably silkier result. Either way works, it is purely a personal preference.
Conclusion
This easy homemade peach jam is one of those recipes that makes you feel proud every single time you make it. A few ripe peaches, some sugar, a squeeze of lemon, and about an hour of your time, and you have something genuinely beautiful to share with the people you love. Whether you go old fashioned without pectin or use Sure-Jell for a quick and reliable set, this recipe delivers a jar of summer you can enjoy all year long.
I hope you love making this homemade peach jam as much as Olivia and I do. Drop a comment below and tell me how yours turned out! And if you want to explore more traditional jam and preserve ideas from people who have been doing this for generations, the community at Allrecipes has some wonderful tested variations worth browsing too.
Related
Looking for other recipes like this? Try these:


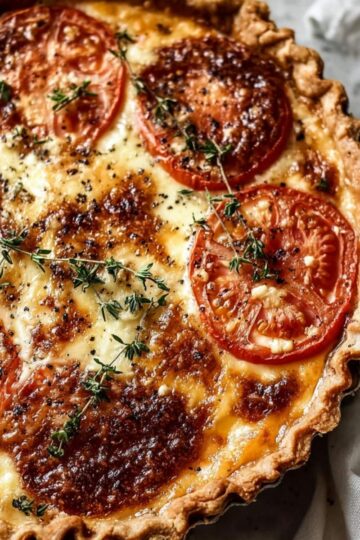
Pairing
These are my favorite dishes to serve with Homemade Peach Jam:


📖 Recipe
Easy Homemade Peach Jam (3 Ingredients, No Fail)
Ingredients
Equipment
Method
- Bring a pot of water to a boil, then gently add your peaches after scoring a small "X" on the bottom. Let them sit for about 30 seconds before transferring them into ice water. Olivia loves this step because the skins just slip right off like magic, she always says it feels like a kitchen trick!
- Peel, pit, and finely chop your peaches. I like to leave a few chunks for texture, it makes the jam feel extra homemade. Olivia usually sneaks a few bites here, and honestly, I let her.
- Add the chopped peaches, sugar, and lemon juice into a large pot. Stir everything together until it looks glossy and juicy. Let it sit for about 10 minutes, this helps the peaches release their natural juices.
- If you're using pectin, stir it in now according to the package instructions. I tell Olivia this is our "backup plan" to make sure the jam sets perfectly, but honestly, it works beautifully without it too.
- Bring the mixture to a full rolling boil over medium-high heat, stirring often. You want bubbles that you can't stir down. This is when the kitchen starts to smell incredible, Olivia always wanders back in at this point asking, "Is it ready yet?"
- Use a thermometer to check for 220°F, or drop a spoonful on a cold plate. If it wrinkles when pushed, it's ready. I always let Olivia do the "finger test" once it cools slightly, she takes it very seriously.
- Carefully ladle the hot jam into clean jars. For refrigerator jam, let them cool and seal. For canning, process in a water bath. That little "pop" sound when jars seal? Olivia calls it the sound of success.
Nutrition
Notes
- For no pectin peach jam, simply cook longer until it naturally thickens.
- You can leave the skins on for a more rustic, old-fashioned texture.
- Store in the fridge for up to 3 weeks or freeze for up to 1 year.
- Add cinnamon or vanilla for a fun flavor twist.
- This jam is amazing on toast, swirled into yogurt, or spooned over vanilla ice cream (Olivia's favorite!).

Leave a Reply